Tutorial: How to create consistent characters in Midjourney
We will use Portraits as an example but this technique will work on cartoons, products, illustrations, you name it. Keep in mind this is just one way to do it.
** Disclaimer, this email is long and will be cut off, so make sure you click “expand” when you get to an abrupt end somewhere in the middle.
Let’s start with what we know.
Midjourney is an AI diffusion model, it creates images from noise, using human written prompts (descriptions) of what you want the AI to produce.
When it comes to fine-tuning or training your own model, Midjourney is not like Stable Diffusion. You can not train a model on Midjourney and use it for specific needs.
With Stable Diffusion creating consistent characters is a lot simpler. But we’re here to see what can be done with Midjourney.
In Midjourney we can use something that’s called “image prompting”. This is a technique where we use images as inspiration in our prompts. It’s not training Midjourney per se, but rather works as few shot prompting works in ChatGPT, you can hint at something you want or a style, and Midjourney uses that as inspiration when generating the output.
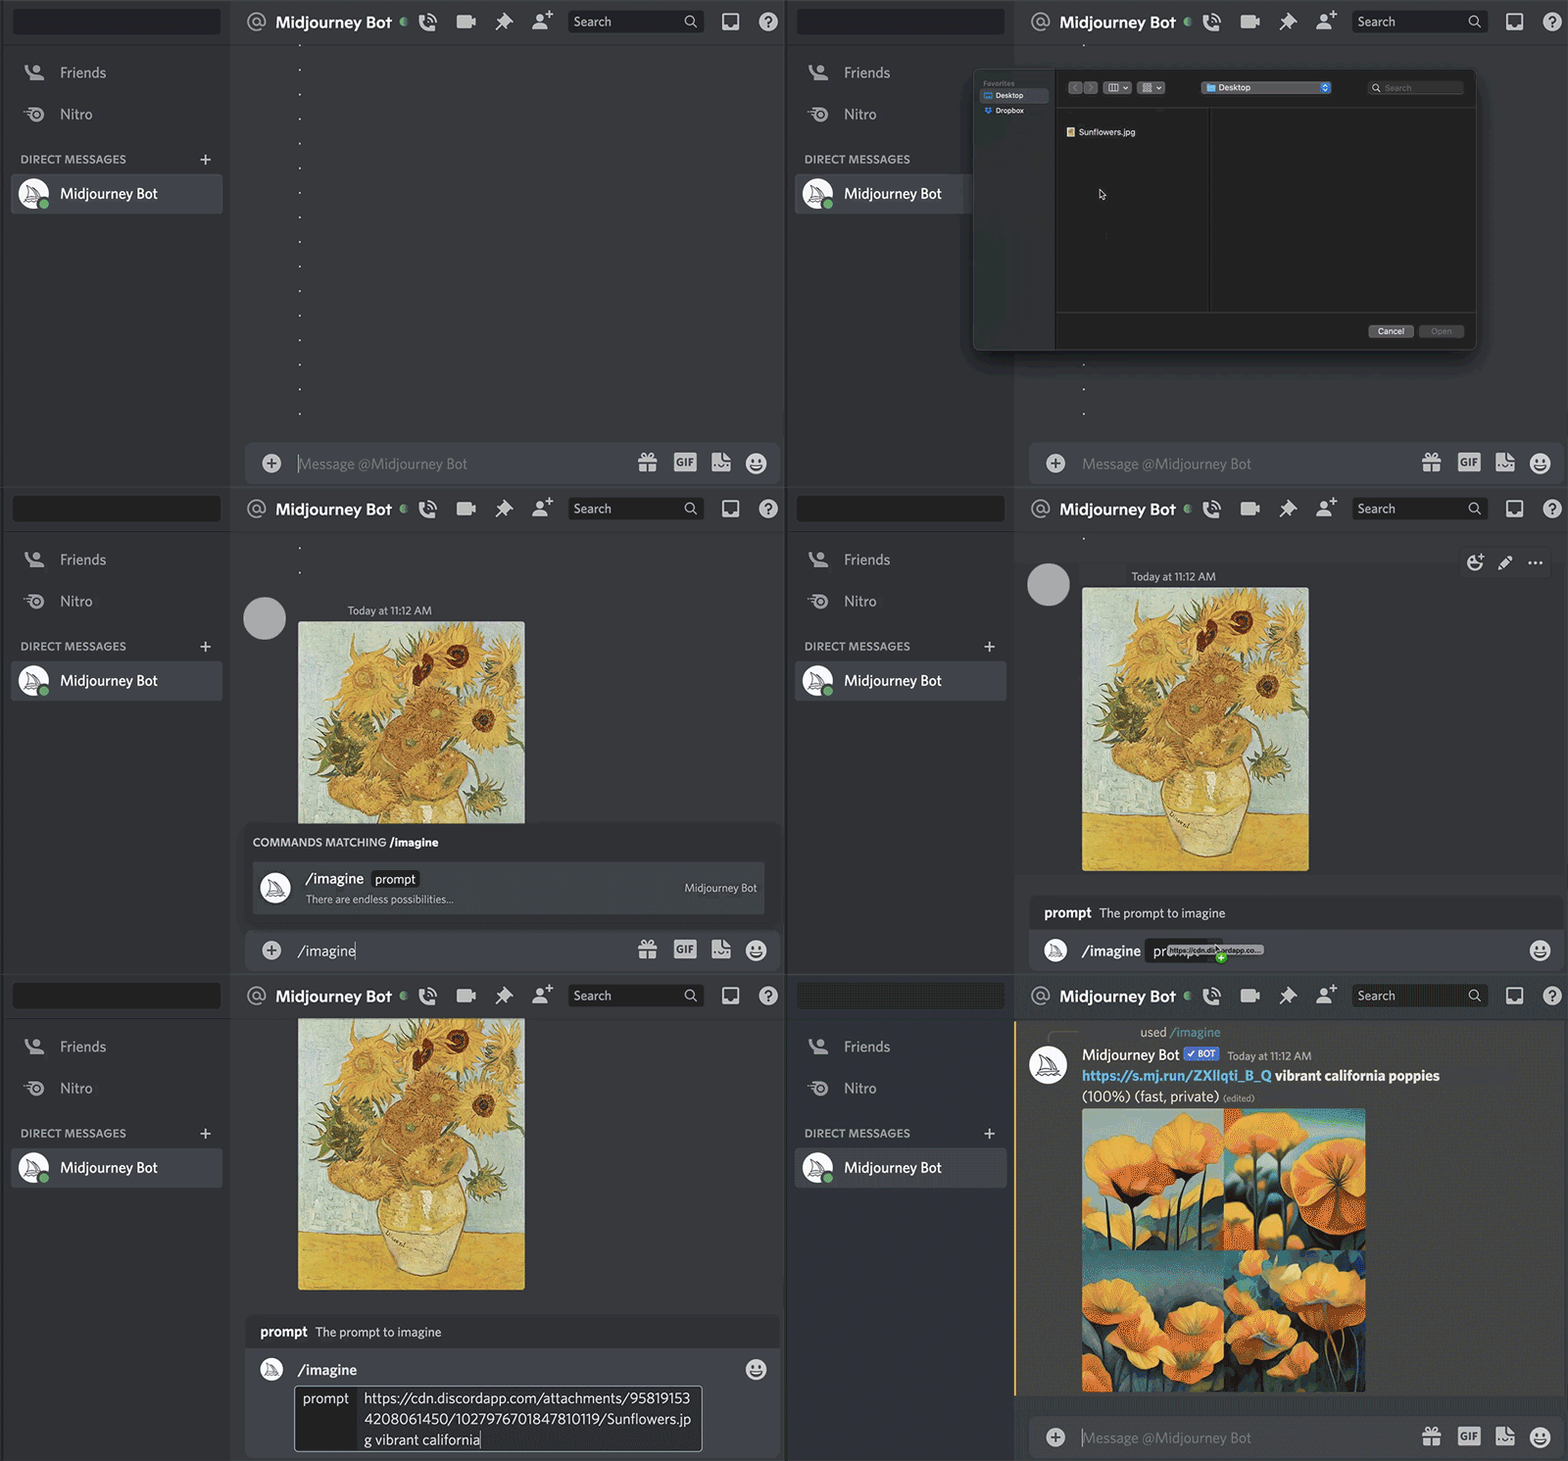
For image prompting to work you need images that live on the internet, even better if the image lives on the discords CDN. To get images into discord you just need to upload them in discord and grab the URLs and paste into your prompt.
In this tutorial, we’ll use a human portrait as an example.
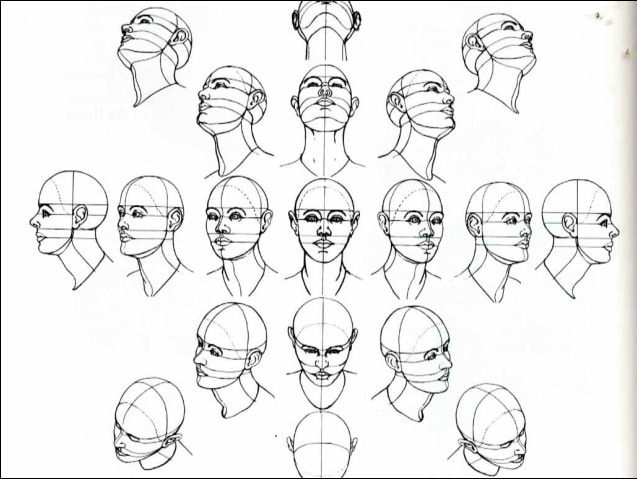
So when it comes to recreating photos of real humans in Midjourney. I had to take a step back and look around at what was out there. I came across how illustrators work when they come up with characters and especially faces. They create these sheets, where multiple angles of the face become the blueprint for the character. This way they have reference art to look at when they are drawing out new scenarios. This is what I think Midjourney is doing behind the scenes with images in images prompts, and reference keeping.
When training Stable Diffusion models on faces, this is very similar, you want good-quality training data. So if you are training something on Stable Diffusion, this technique will probably improve your models too.
I remember writing something 2 years ago about Metahumans - and it all becomes more clear. I need to try to get Midjourney to create a portrait for me, but not just that I need to take that portrait and get Midjourney to create multiple angles of the same portrait… This is the strategy I’m applying, and let’s dive into that.
Step 1 - Let’s generate a human
There are multiple ways of generating a portrait, I’m going to use this way, you can modify it and make it your own. Nick has a nice thread series on light and film, and posing models. Check that out if you want to nerd out.
All my prompts will use the latest version V4c so I’m not using any parameters here (—v 4 —q 2 etc) but just writing the prompts clean into the midjourney bot.
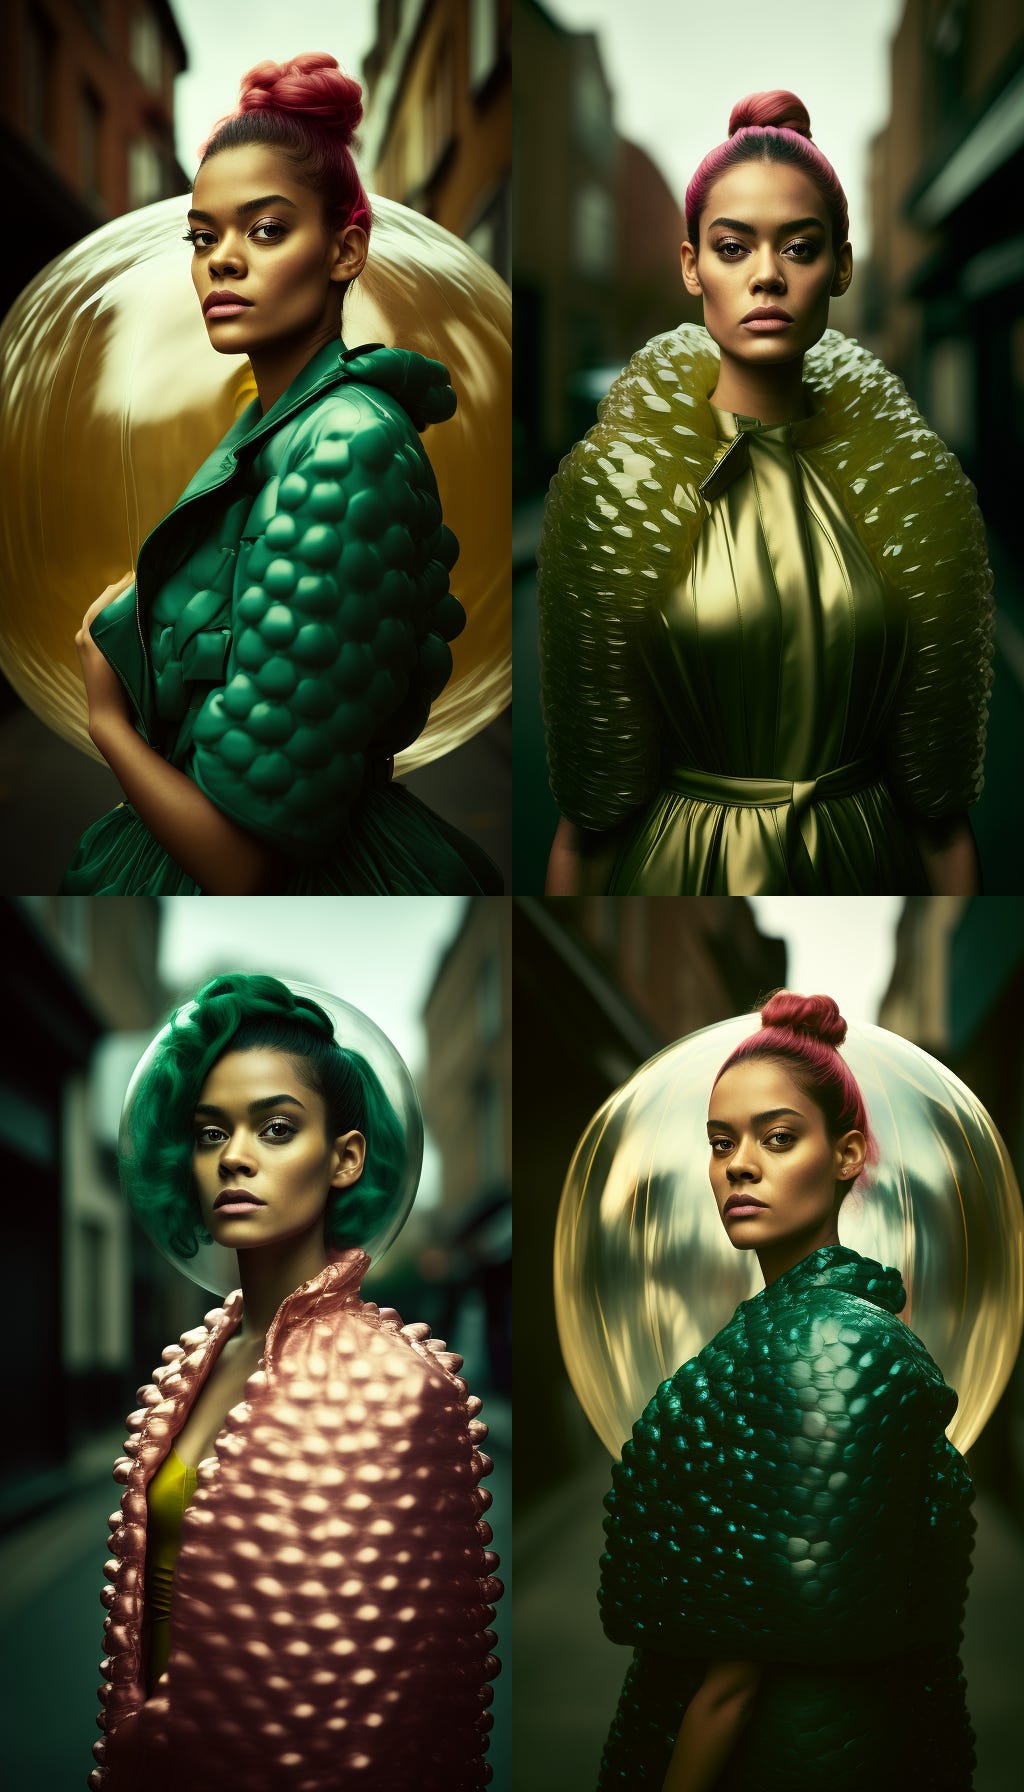
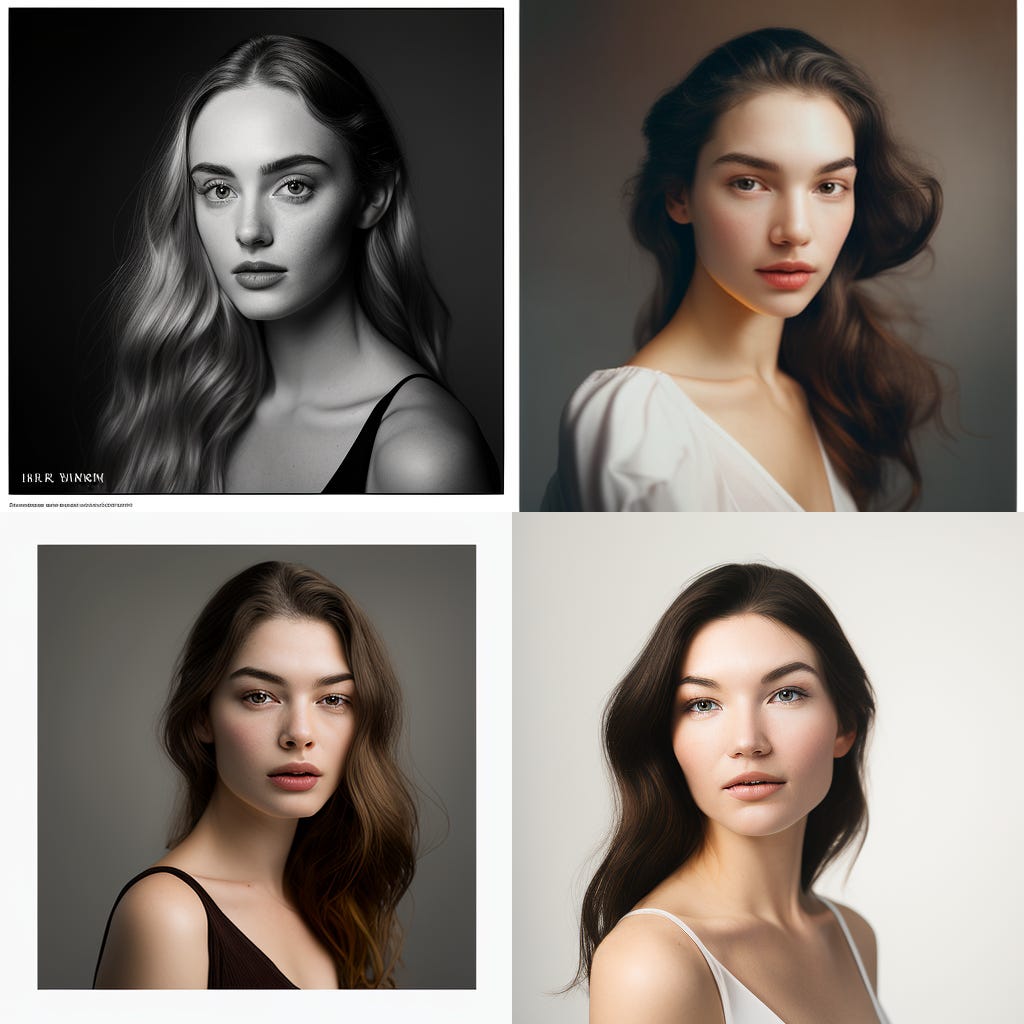
💬 street style photo of a woman, shot on Kodak Gold 200If you want to try a different style you can try this prompt too.
💬 studio style photo of a woman light background shot on Kodak Gold 200Once we have our initial model, we are going to pick one, I went with number 3, gold jacket, pink hair. This is our gen0.
Step 2 - Upscale and make more
So now that we made a pick, we upscale, and make sure our upscale looks crisp, we don’t want any major artifacts in the image. This image passes a visual check.
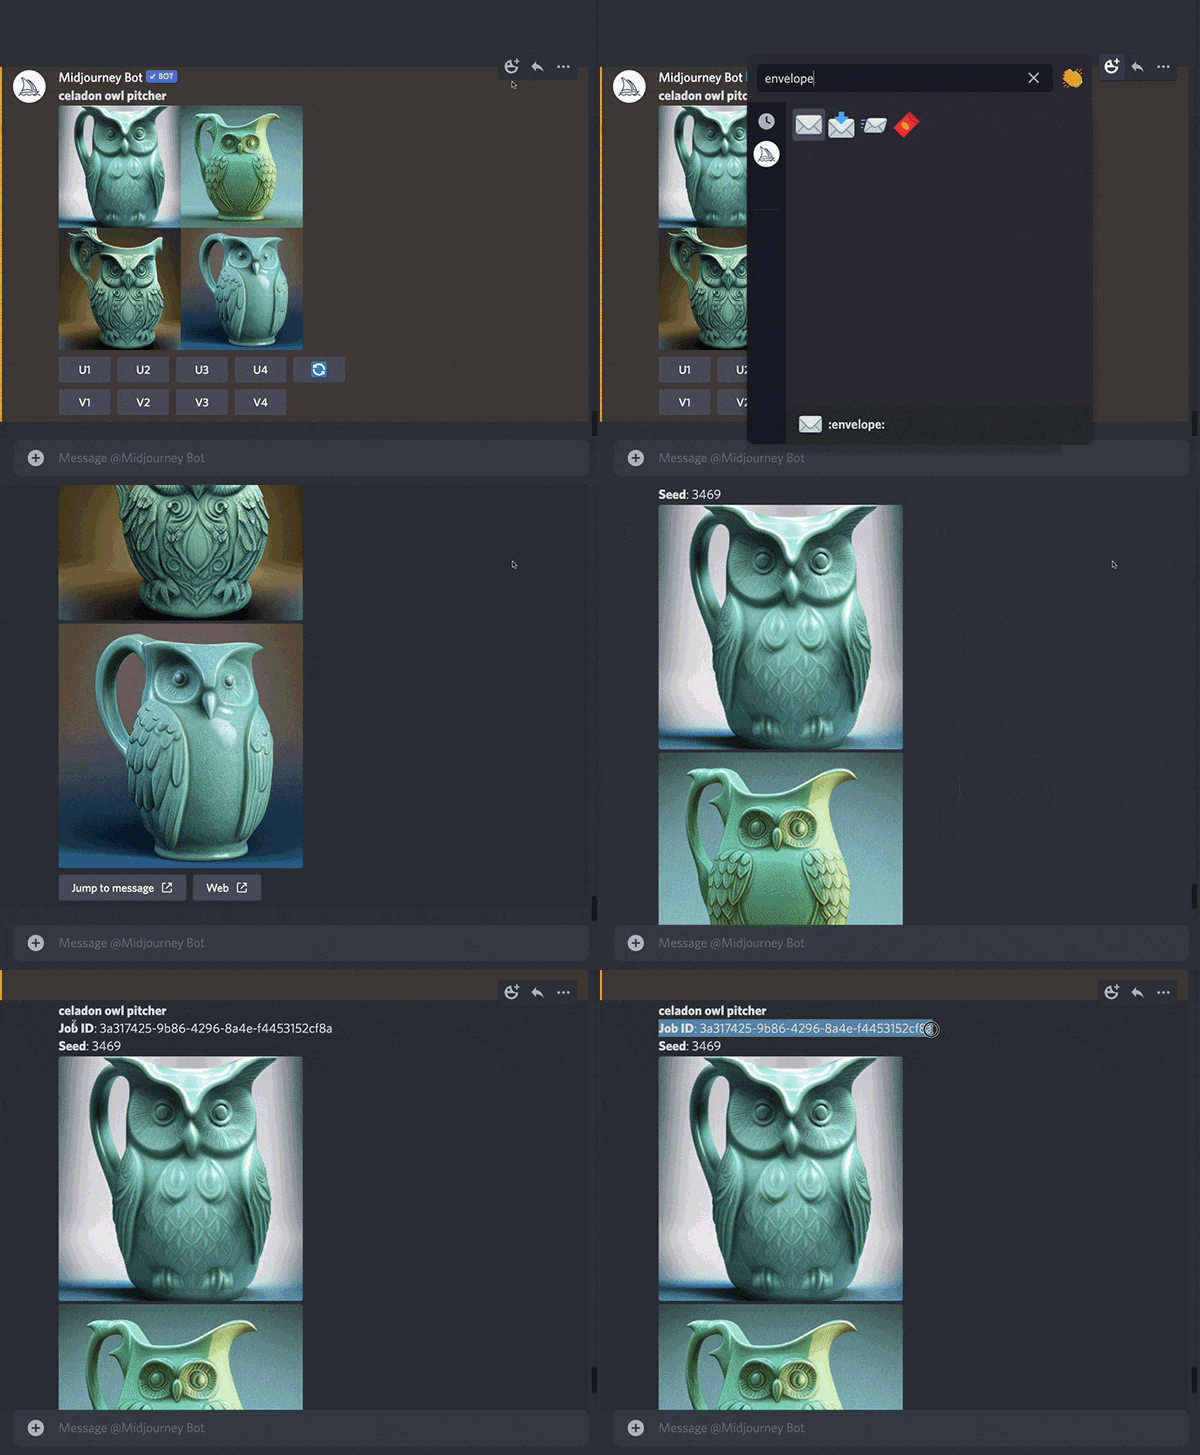
Next, we want the seed number for this image, just respond with the letter emoji to the generation and you should get the seed number.
Now we want to take the initial image URL and the seed phrase and make a new prompt.
We will grab the image URL from discord, right click and select copy image address.
In this prompt, we will use the image URL + our written prompt, but this time we want a side view or profile shot + the initial seed.
💬 <img url> street style photo of a woman, side view, shot on Kodak Gold 200 --seed 15847958You run this as many times as you need until you have 1-2 images of the left and right profile or side angle view. When you have the ones that are most similar to the initial person we made you upscale them.
At this point, we should have at least 3 photos or more:
Front view (1-2 images)
Left side view (1-2 images)
Right side view (1-2 images)
Let’s take our images and combine that with a new prompt to get us an above angle of the face. We still want to use the initial seed number. Make sure you re-roll until you are satisfied, remember we are looking to get outputs that are as close to the existing picks as possible.
<front> <left-side> <right-side> street style photo of a woman, extreme high-angle closeup, from above, center view, shot on Kodak Gold 200 --seed 158479589Repeat the process for the below angle, remember the picture we looked at in the beginning, we want to map out the face, and cover as many angles as possible.
💬 <front> <left-side> <right-side> <top-view> street style photo of a woman, extreme low-angle, from below, centered view, shot on Kodak Gold 200 --seed 158479589Step 3 - Combine it all
So at this point, we are throwing in 7+ images as inspiration, all images that we picked that represent the different angles of the face. Most likely our model will come out with a yellow jacket. Since all of our inspiration images have either a yellow or a gold jacket. Now we are no longer going to add the —seed we simply don’t need it and we don’t want to start from the same noise pattern anymore.
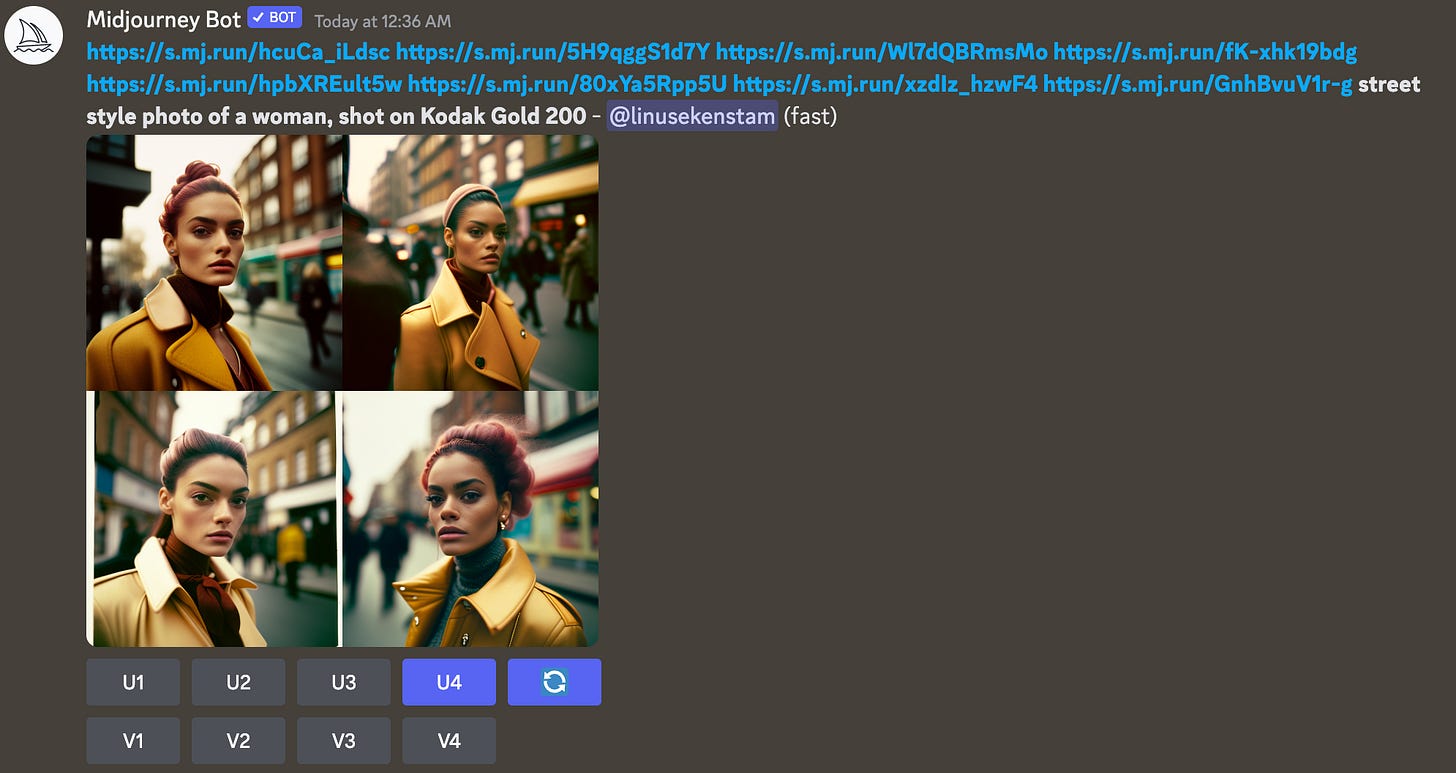
💬 <front> <left-side-1> <left-side-2> <right-side 1> <right-side 2> <top view> <below view> street style photo of a woman, shot on Kodak Gold 200
Let’s upscale the 4th image, and I’m just putting a Midjourney print screen here so you can see that there is no black magic going on. This is what we are getting from Midjourney.
We can see that the upscale misses slightly on the ear and the earring. But other than that we are now getting a consistent model without using the seed. Instead, MJ is using the uploaded photos as inspiration. We can now consider this to be our new baseline for generating more “Joannas”. This is now our gen1.

<front> <left-side-1> <left-side-2> <right-side 1> <right-side 2> <top view> <below view> street style photo of a woman, shot on Kodak Gold 200Step 4 - Put our model in different scenes
So up until this point, we have generated 1:1 images, we have not used aspect ratio or wide shots. We have actually not told MJ any specifics at all.
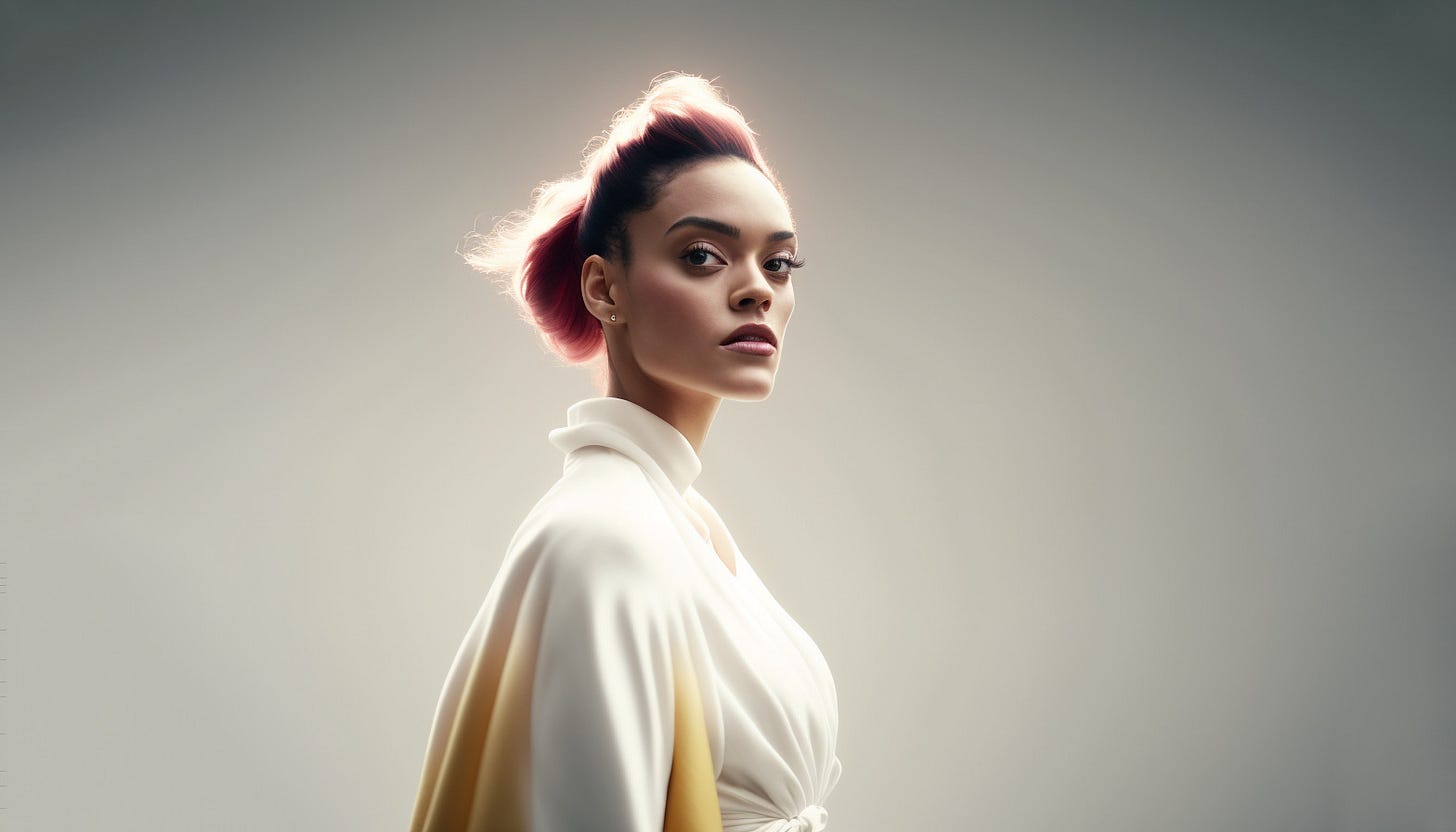
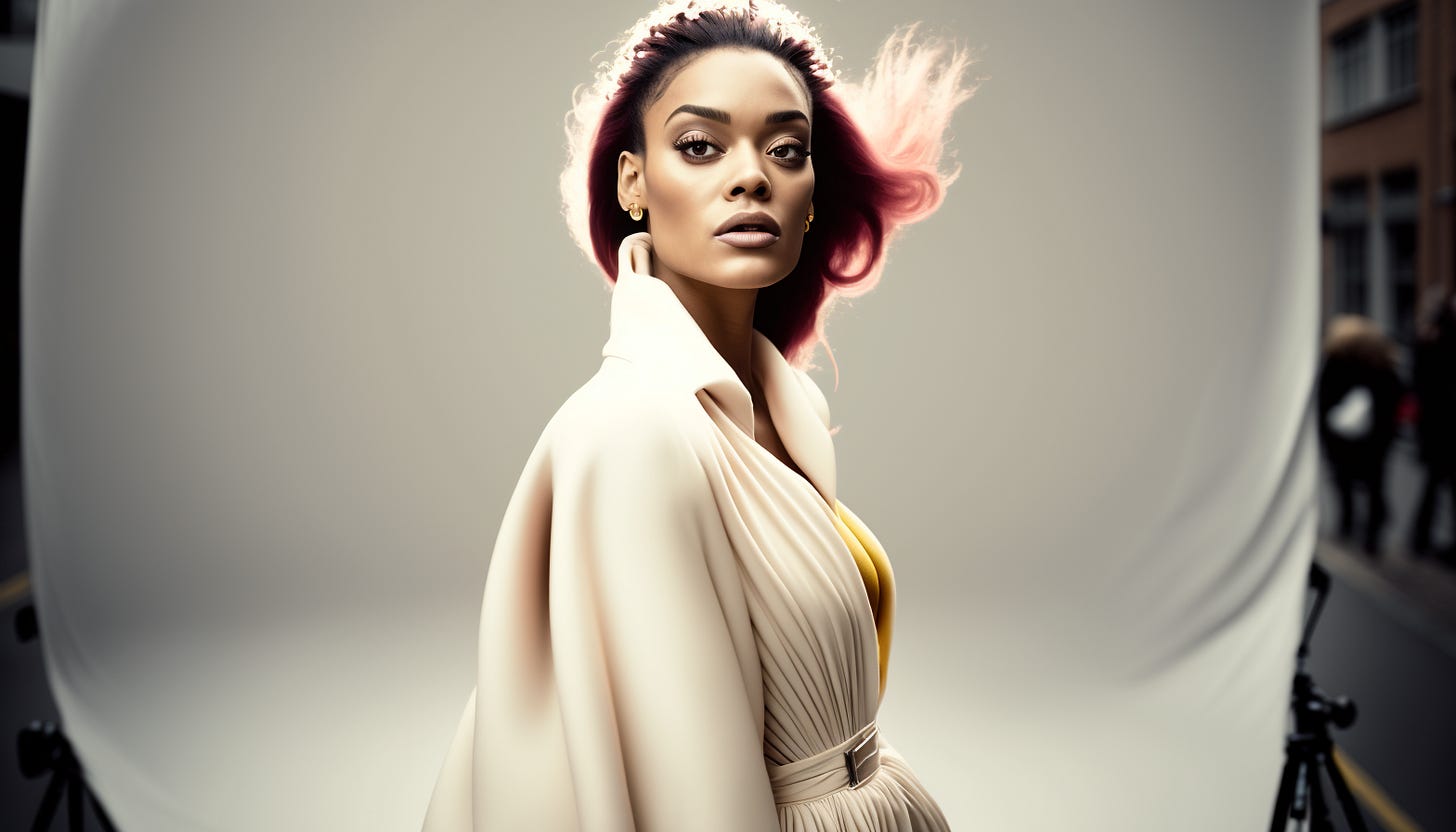
So let’s try putting our model in a studio photoshoot. We will change the background, shot type, try to make her smile, and change the lighting and film type. So we are changing/adding a lot of modifiers to the prompt that was not there on the inspirational images. This can be tricky, and we will touch on why later.
💬 <front> <left-side-1> <left-side-2> <right-side 1> <right-side 2> <top view> studio photo, white background, of a woman in a white outfit, ultra wide shot, full body, center view, studio lighting, shot on Fujifilm Pro 400H --ar 16:9Let’s try something else. We can try to put on some really crazy outfits, here is the same prompt, but changing the color between pink and yellow.
💬 <front> <left-side-1> <left-side-2> <right-side 1> <right-side 2> <top view> street style photo of a woman in a pink fluffy blowup dress, ultra wide shot, full body, center view, smiling::2 studio lighting, shot on Fujifilm Pro 400H --ar 9:16We can change “Pink fluffy blowup dress” to “LEGO dress”
I had so many people ask me on Twitter why Joanna is not smiling, well it just happened to be the case from the gen0 images we got. But with a little trick and some re-rolls, you can get her smiling. By adding the below to the prompt. It does feel like she does not want to smile.
smiling::5 
Alright, I think we get the gist here, we can modify the prompt, and add/subtract from it and sometimes we need to fight with MJ and sometimes things come out great. Let’s try some more things.
Step 5 - trying other scenes
So I’ve got some asks, can she drive a car? Can she go to the gym? Well because I made “inspiration” images from a street photo, we keep getting street photo styled photos back. Since I don’t want to don’t fight with MJ and using street-style photos deemed tricky when we want to make other types of photos. A better way to do this would be to use a white background on the training images. Anyway, let’s see what we can do.
Let’s start with making her a race car driver, not specifying the use or none use of a helmet.

Let’s put Joanna in a Space Capsule. Now we are seeing the downside of using street-style photos as inspiration. Our backgrounds are all streets. We can try to prompt our way around it.

We manage to remove some of the “streets” backgrounds by adding “Interstellar space background” to the prompt.

Here I’m trying to give her a space helmet. So as we can see we struggle slightly but that is to blame for the very opinionated inspiration images.

Where Joanna really shines is in different strange street scenes.

We can really go nuts, and I think this alone is extremely powerful. And also good to know, I can use my gen0 image and do additive prompting and use the —seed to generate more styles of Joanna and repeat the steps to get to gen1 and my baseline. I can then have different combinations of inspiration images for different use-cases.



Conclusion
It’s entirely possible to use this technique to get extremely consistent characters, modify them and place them in different environments. You can explore using or not using the —seed number.
I feel this technique is similar to few-shot prompting with GPT3, where your images for inspiration act as a precursor to what you want. and your text prompt or multi-prompt acts as the instructions. In few shot prompting you give GPT3 or any LLM a set of examples and then you give your instructions, so a bit lite pre-training or fine-tuning but in the prompt. This technique is similar but for Midjourney instead.
Learnings
Do not use a “street style” photo for creating your set of inspiration images. Instead, create a sheet of more natural portraits, and then create neutral poses and images.
Midjourney is not like Stable Diffusion. If you want consistent outputs based on one model or yourself, you are probably better of for now using a custom model for Stable Diffusion.
Everything is moving so fast, and there are new ways and techniques popping up almost daily now on how to make consistent characters or items. I’m expecting there to be some sort of easier way in the future for this. Maybe a lightweight pre-trained model or something else entirely.
If you are still here, thank you. I hope you learned something today, if you have questions, feel free to reply to this email or reach out to me on Twitter
Share this post with anyone you think would be interested. Use the link below.
If you liked this please consider liking it and leaving a comment. It helps me with reaching new readers.









Hi,this article is really very helpful and u narrated so well.Thanks a lot.
Thanks for working through your process with us and sharing your discoveries. It's fascinating to see the techniques we use to act as memory analogues for tools like MJ that don't have a built-in dialectic process